
Hey friends!
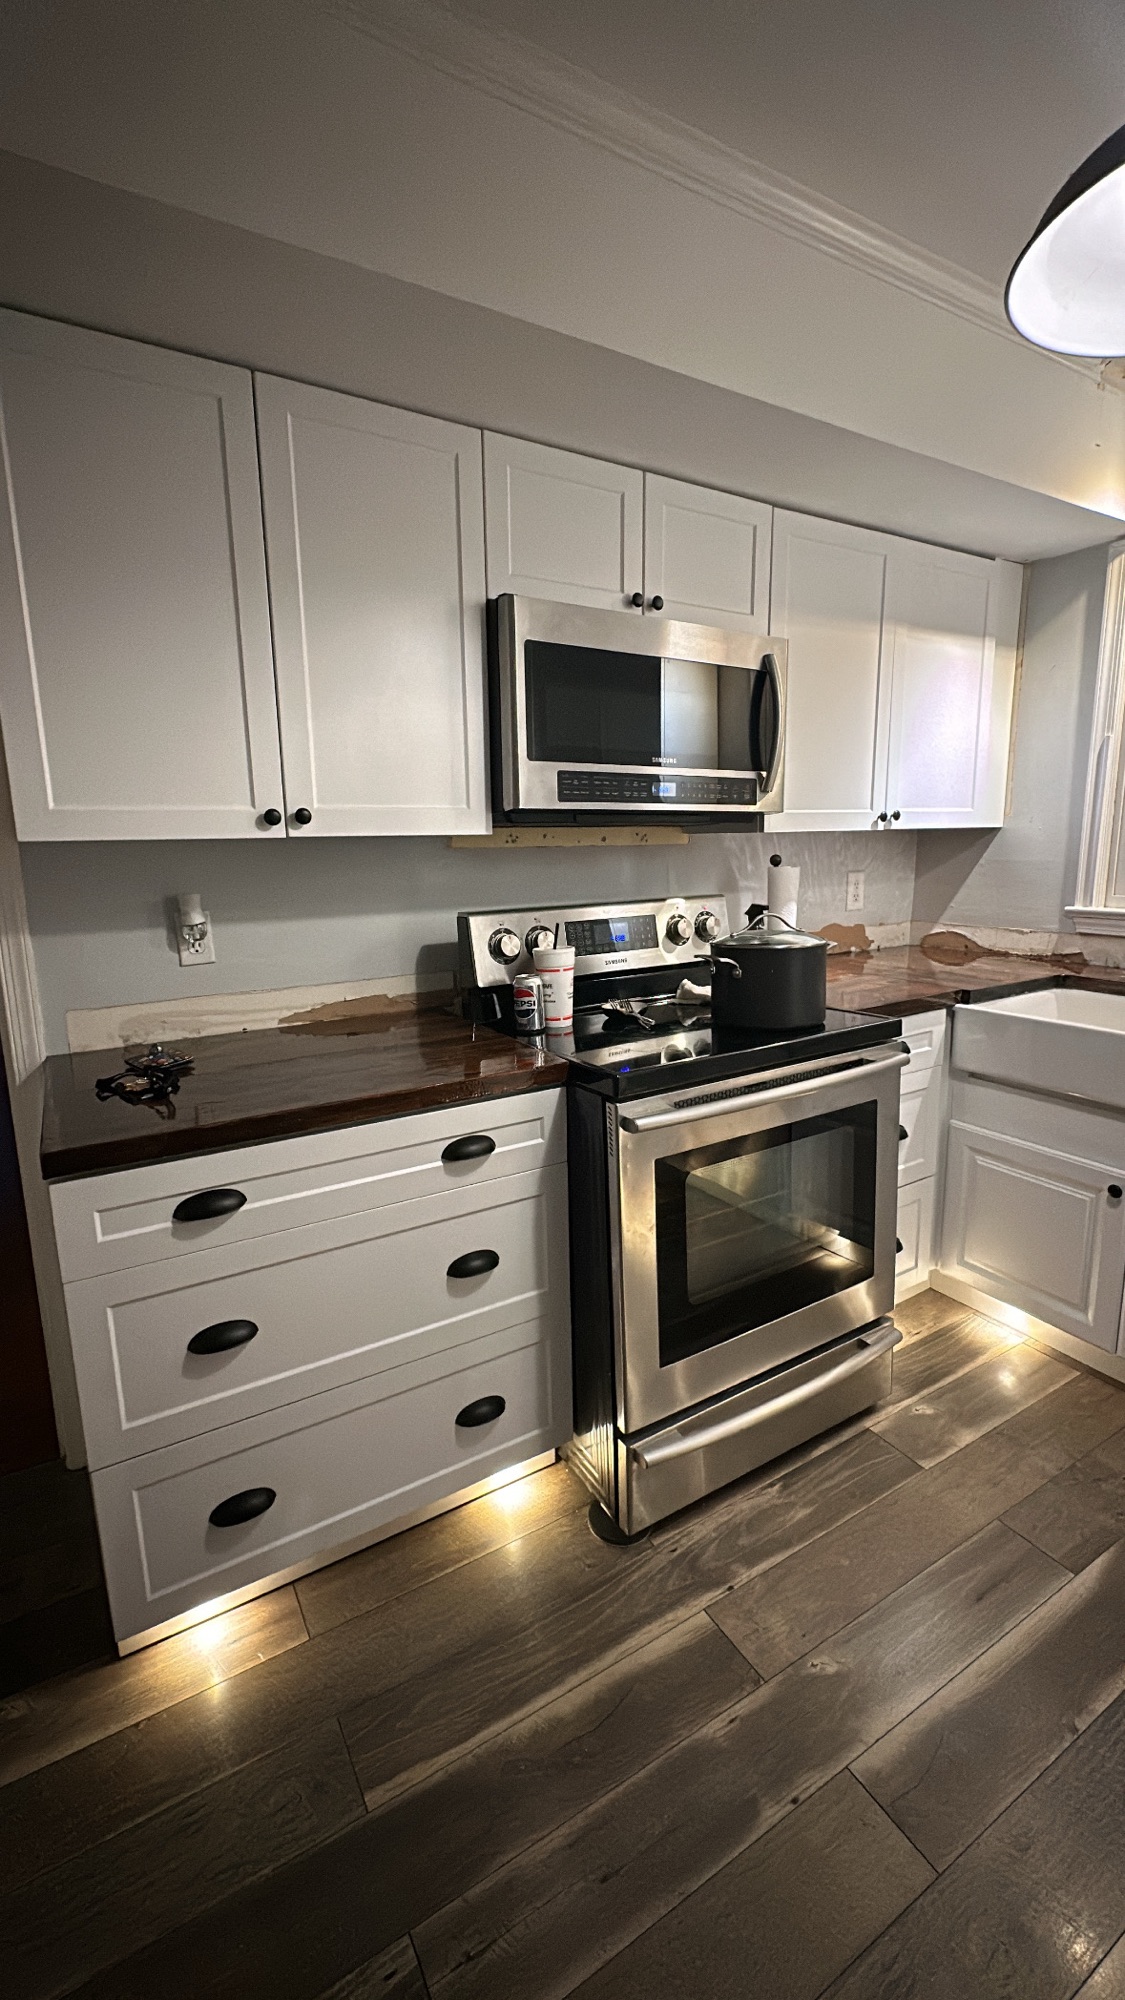
If you follow me on Instagram, then you’ve been watching the (somewhat slow) progress of our kitchen renovation. We’ve done everything ourselves – with the help of my dad – so I wanted to share with you how we approached tiling our kitchen. Let’s get down to it!
First, we decided we did *not* want to use putty or any type of sticky adhesive that you smear on the wall before laying down the tile. From what we read, if you were to use that you’d have to set the tile and then wait 72 hours or so to apply the grout. Not only is that not a timely option, it was definitely the messier option.
So against my dads wishes (lol) we used SimpleMat tile setting mat on the walls before putting up the tile. Let me tell you how EASY this was!
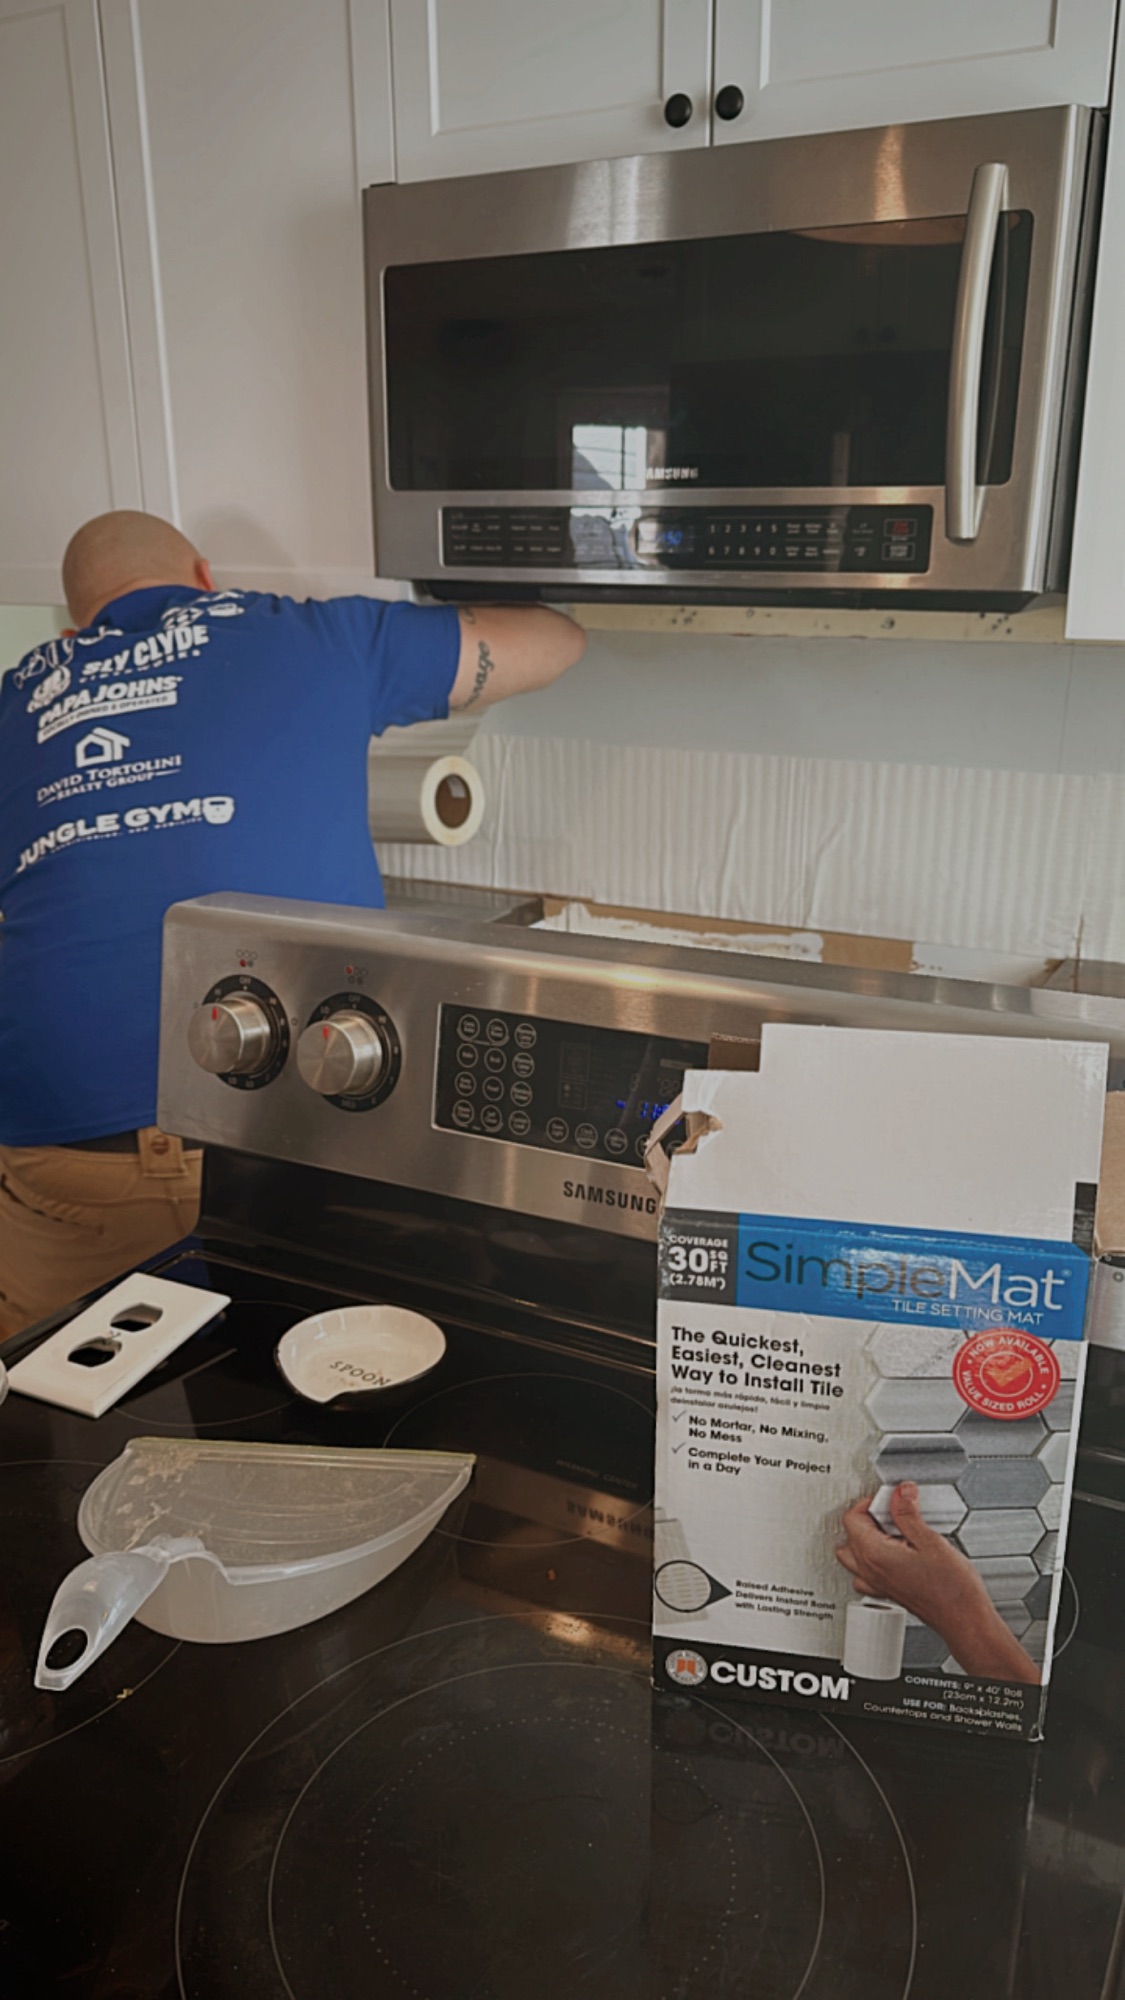
We applied the adhesive sheets on an entire section of wall, and then starting pressing the tile on with the spacers. Once we had an entire wall done, we could go ahead and apply the grout. Altogether, it took us one weekend to tile the entire kitchen. What a time saver!
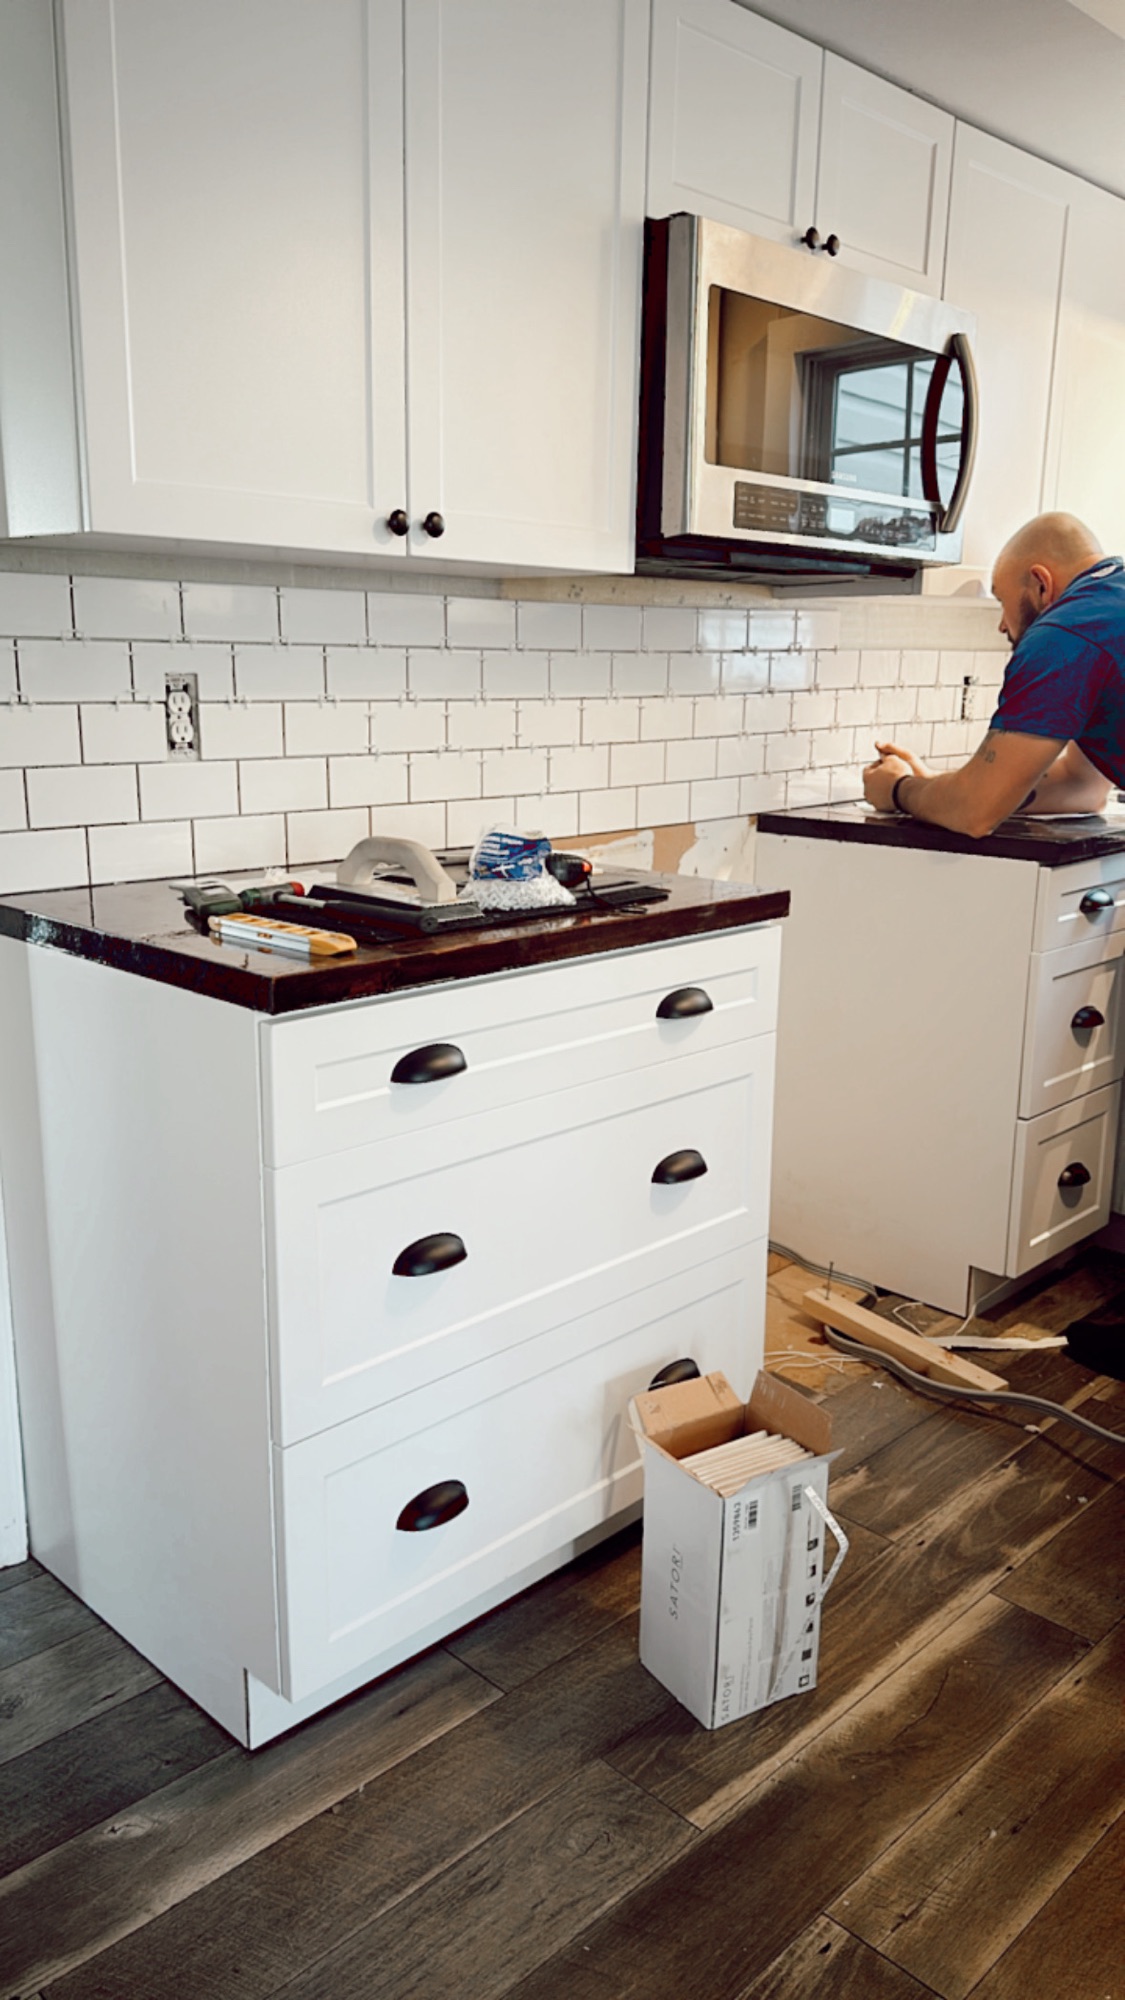
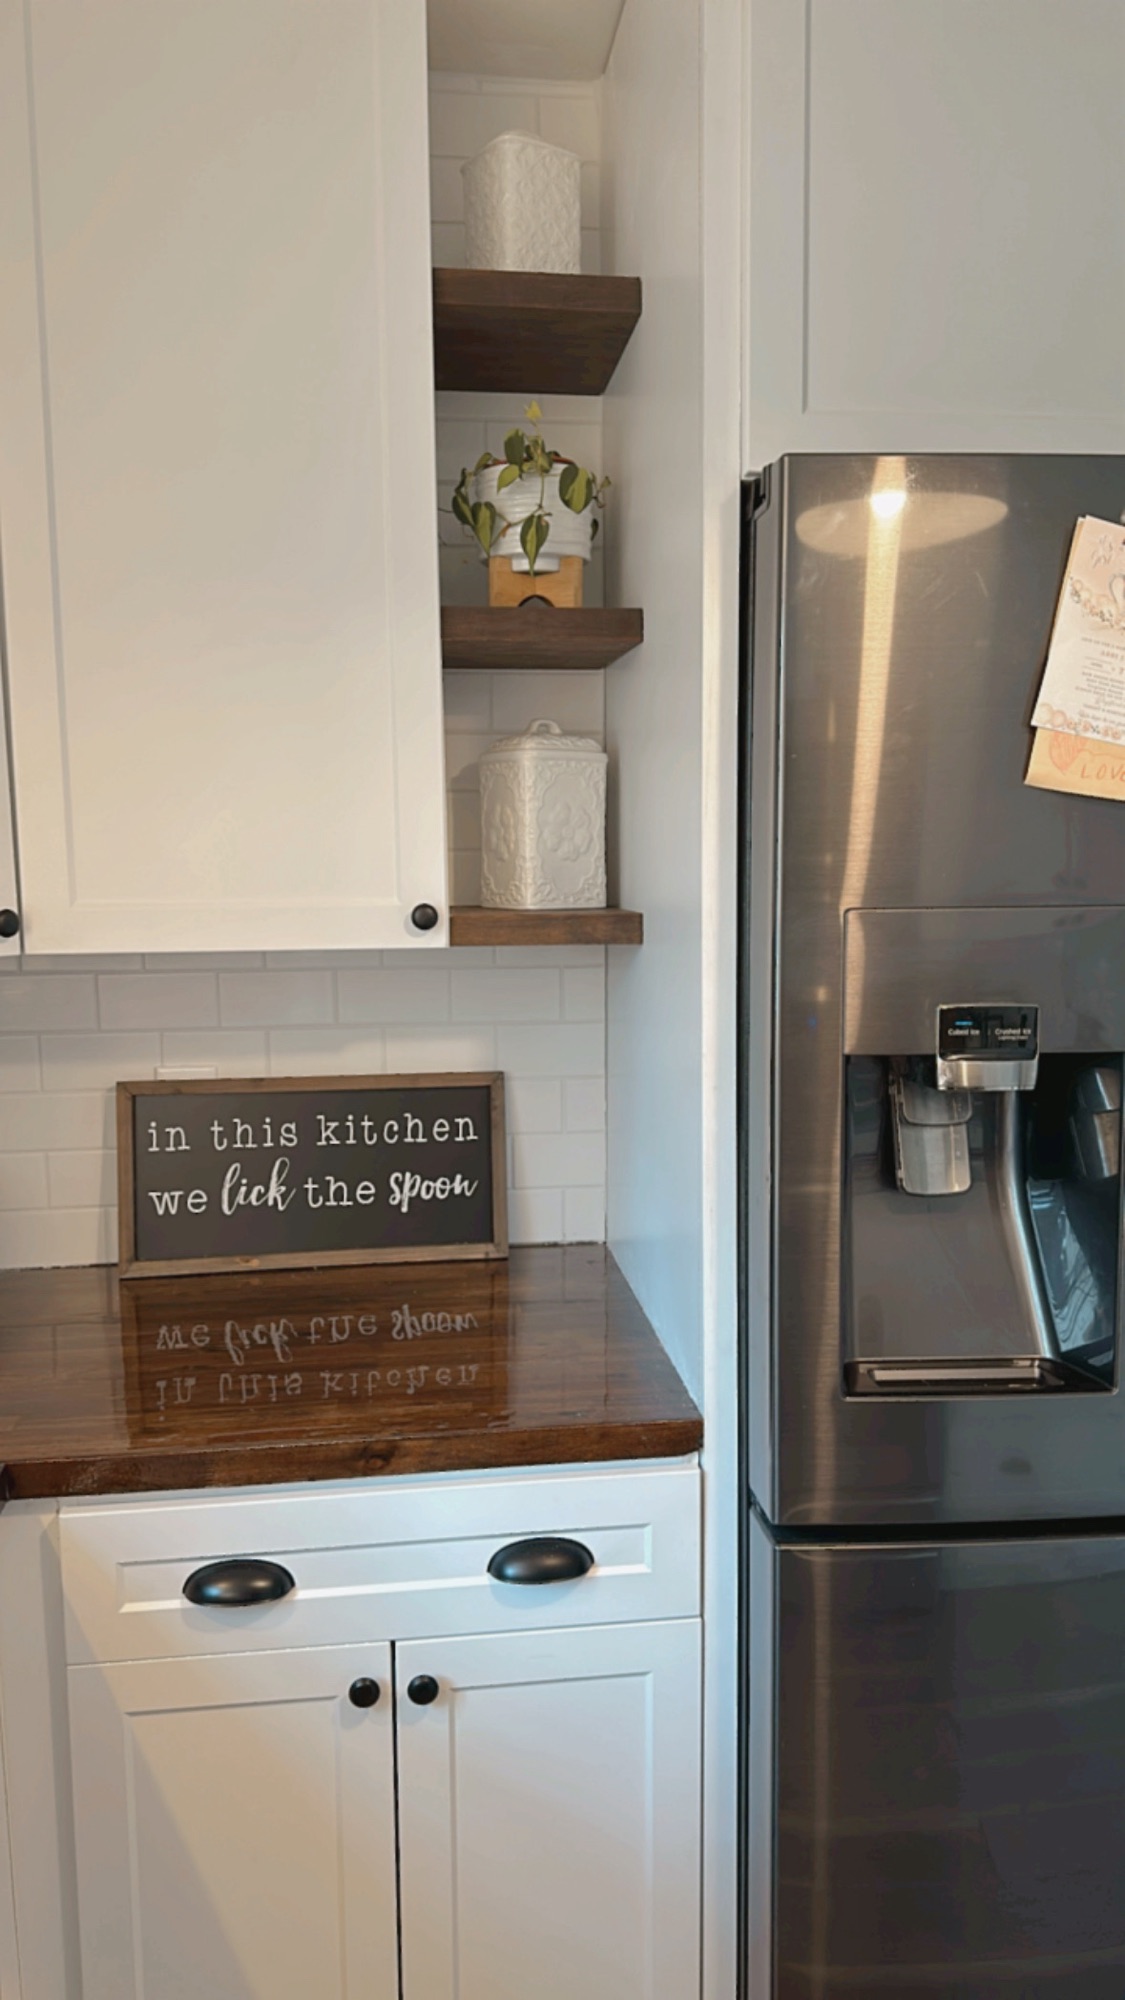
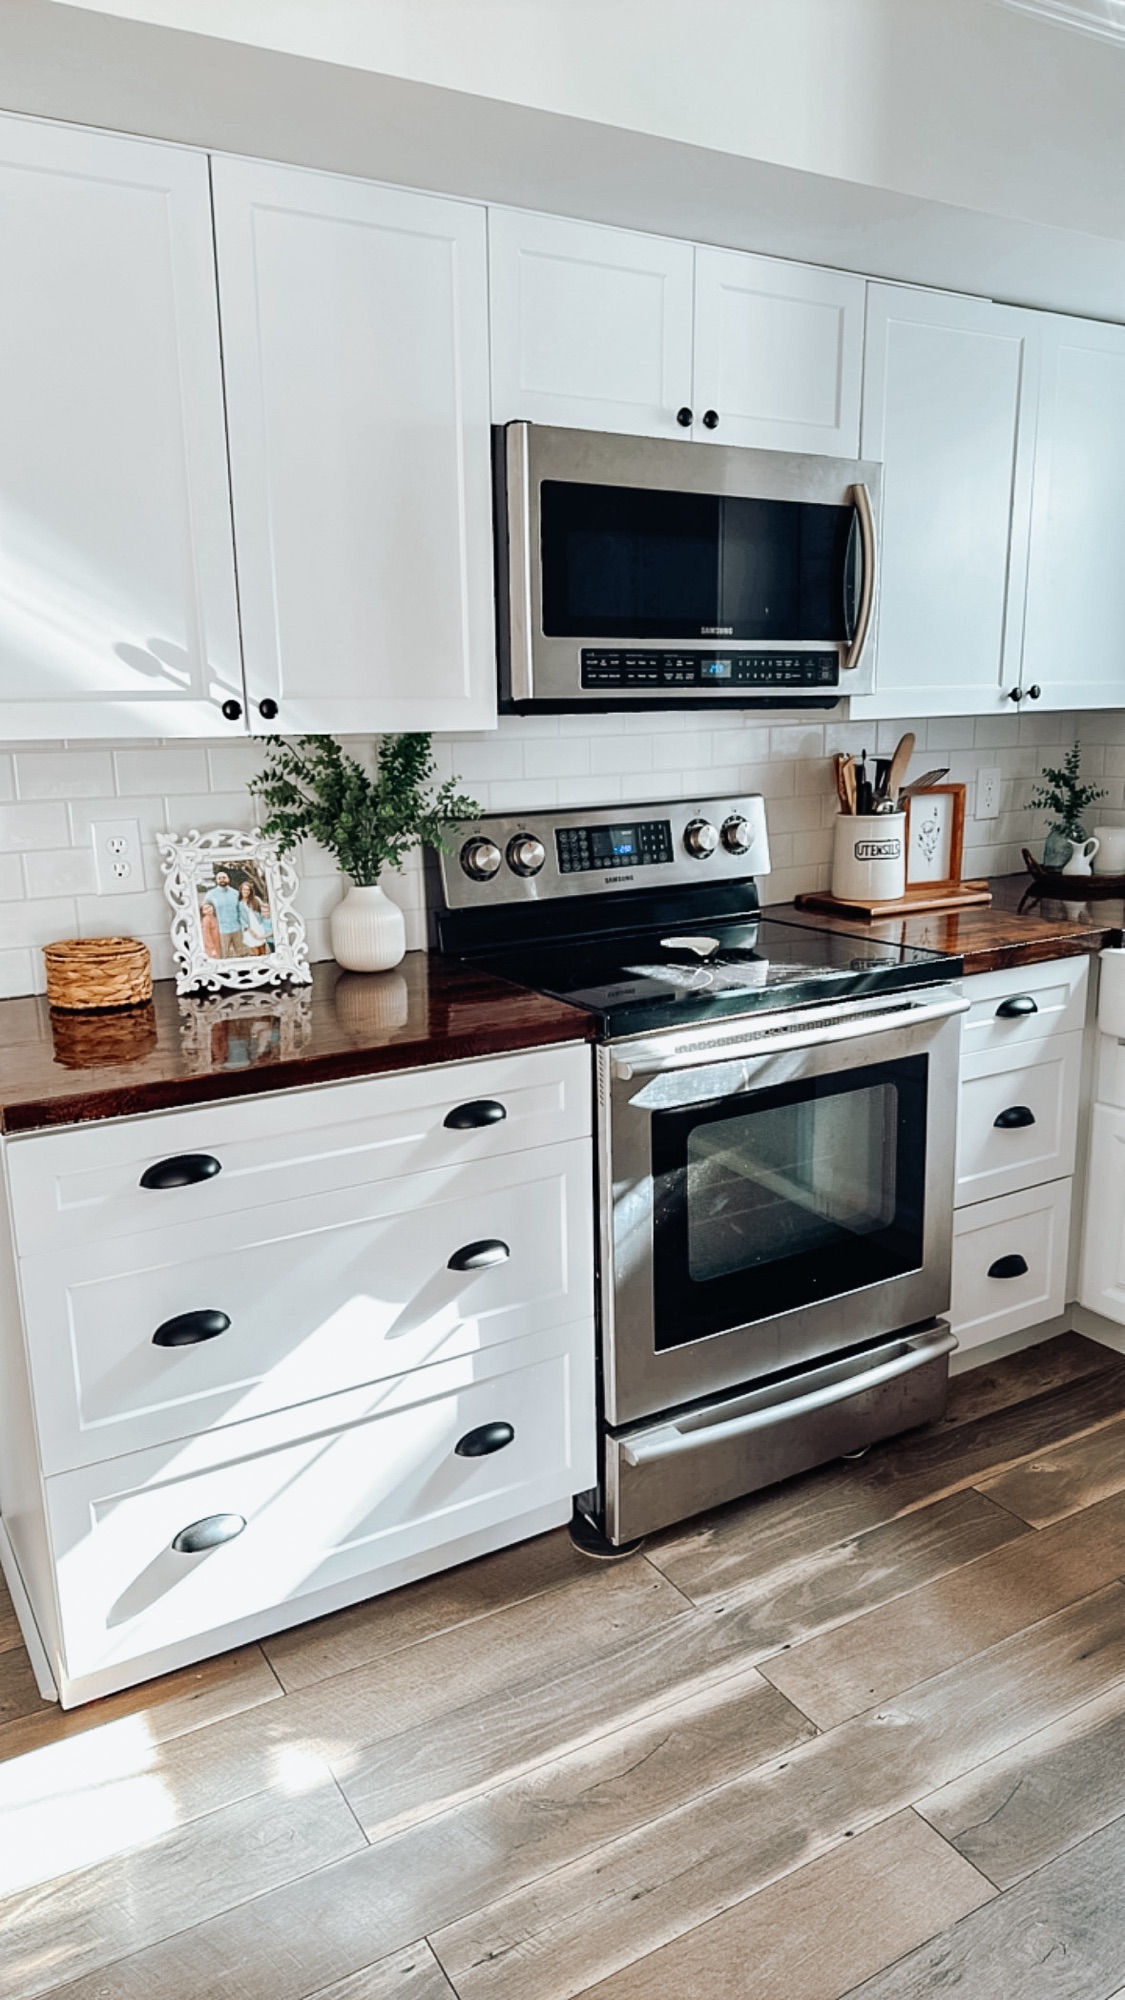
We went with your standard subway tile from Home Depot (for about 15 cents a piecer) and bought about 600 tiles. For our kitchen size we definitely thought we had bought too much and would return some, but we ended up using at least 500 tiles! Pro tip: buy more than you think you’ll need anyway to account for mistakes and breaks.
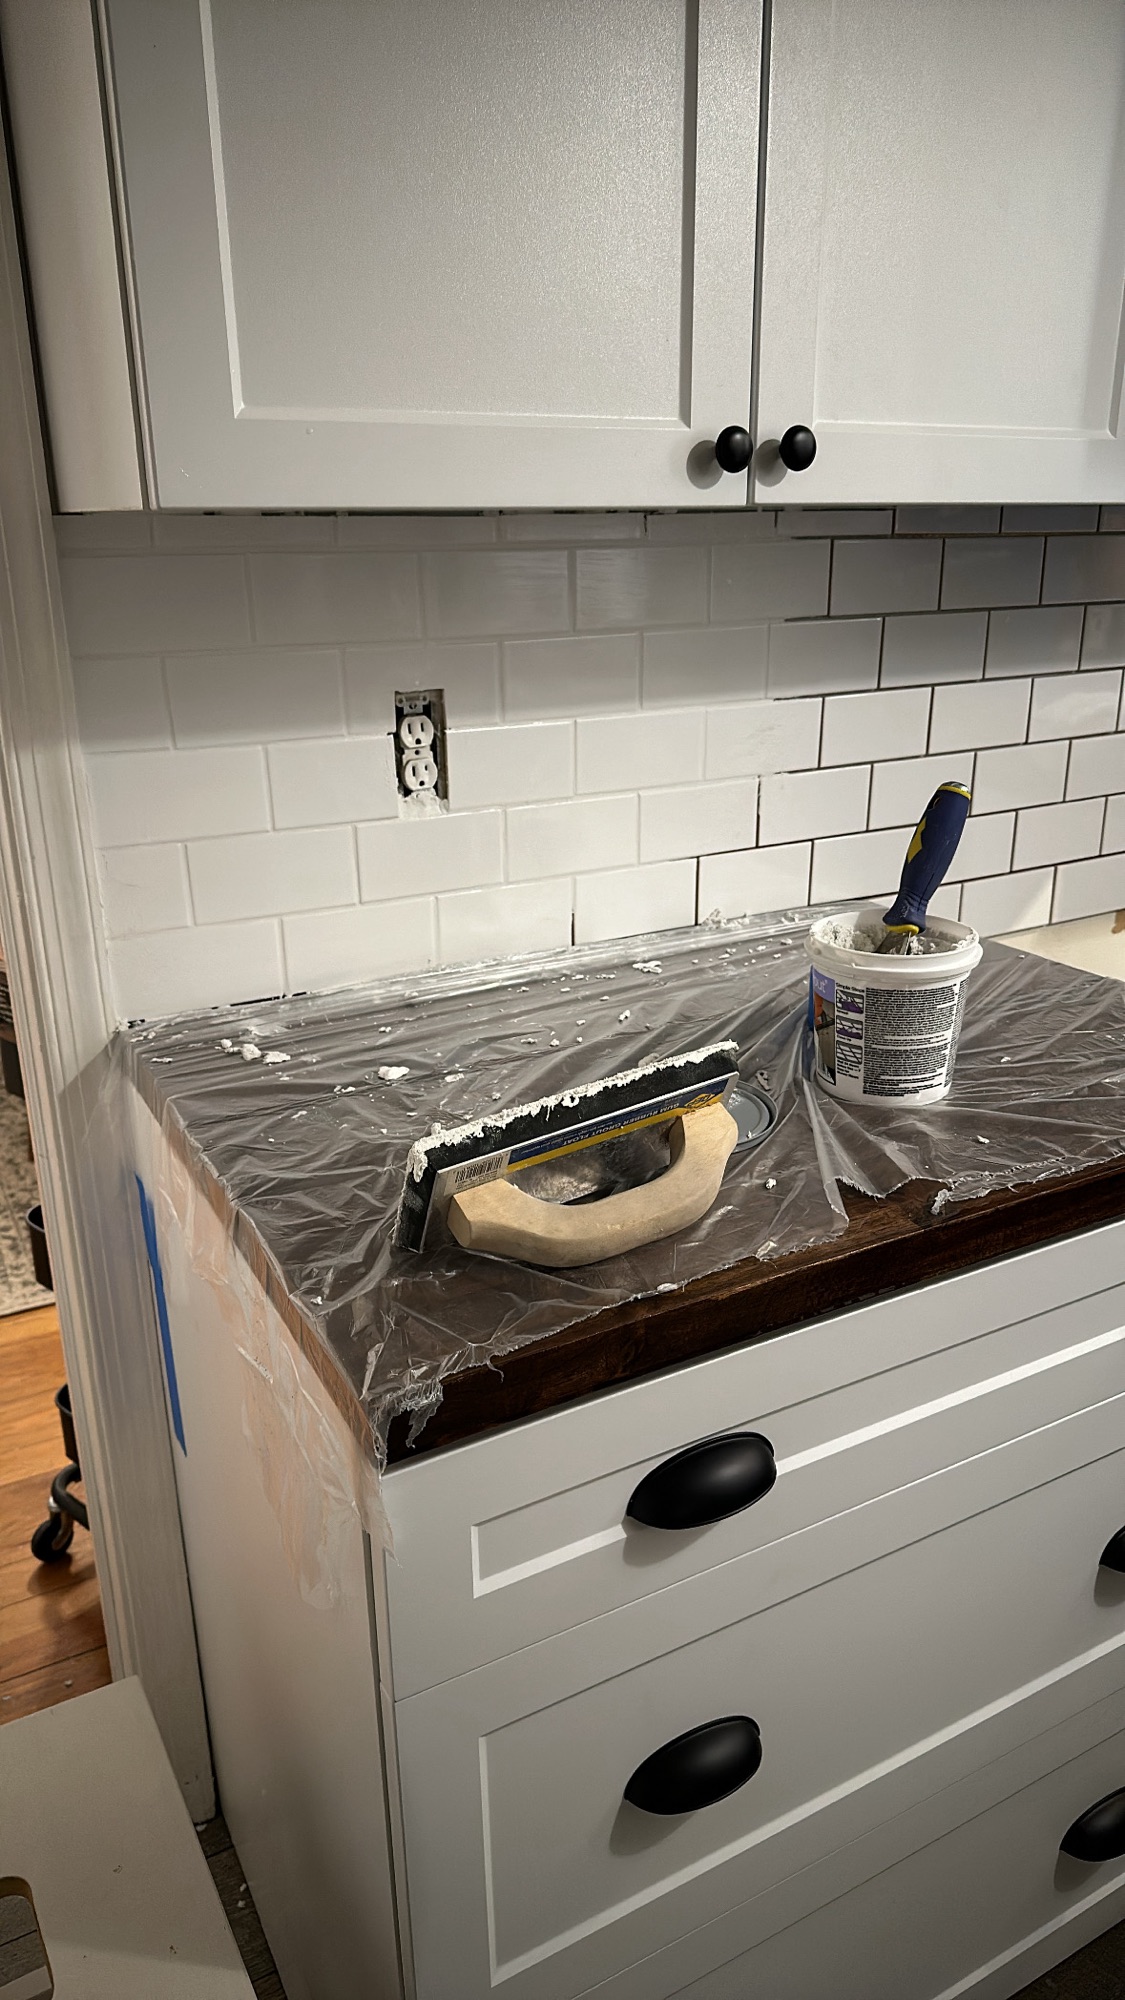
After the tile was laid, we applied white grout on top for a nice finish. It’s such a clean look and makes such a statement! I’m also glad that we (*cough* me) decided to tile the entire exposed walls in the kitchen instead on only doing underneath the cabinets. I think it turned out great!

What do you think? Would you try to tile a room yourself?? Thanks for reading!
